22:56 Photoshop beginner's tutorial - Cloth Folds or How to draw cloth folds in Photo Shop |
| Hello everyone! A lot of people in Second life wondering or have difficulties with drawing folds on clothes. I'm going to show easy way how to do it =) This tutorial meant for Photo Shop begginers. Minimal skills required. My version of Photo Shop is Ps CS 5. First of all i want to mention tools i will be useing: Brush Tool Eraser Paint Bucket tTool Smudge Tool 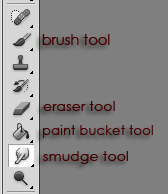 Step 1: Made new file 512x512 pixels (File>New..) Fill background with gray color, useing Paint Bucket tool. This is your background layer. Step 2: Create new layer (Layer>New.. or press SHIFT + CTRL + N) On new layer draw black dot useing Brush Tool. Step 3: Create new layer again. Draw white dot next to a black one. This is what you supposed to have:  Step 4: Select Layer 1 again. Layer menu supposed to be on bottom left. Go to Filters>Blur>Gaussian Blur.. set it to like 12 pixels or what ever looks better, strenght depends on resolution of your image. Press OK to apply changes. Now select Layer two (the layer with white dot) and do the same, or just press ctrl + F, it repats last filter you used. Now go to Layers>Layer Style>Drop Shadow.. Make sure shadow shows under white dot, opposite side from black dot. This is what you supposed to have now:  Step 5: Now you need to left click your Layer 2 and choose from pop up menu Merge down, it will merge your two, black and white, dots and make it one layer. Now select Smudge tool. Click and drag on a side of your dots, do it with both sides untill it become more or less fold looking hehe. Example: 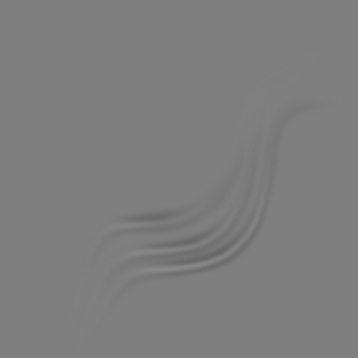 All next steps just take knowledge about shadows and lights. You can add more black dots between folds, shadows is stronger there, so it's supposed to be darker. Just create new layer, draw black dot on it or line (dots is actually for people who have troubles drawing straigh line hehe) use Smudge Tool on it, change "opacity" )transparency) of the layer if you want shadows to look smoother. For light areas draw white dots (on seperate layers). Light areas supposed to be on top of your folds. Example: 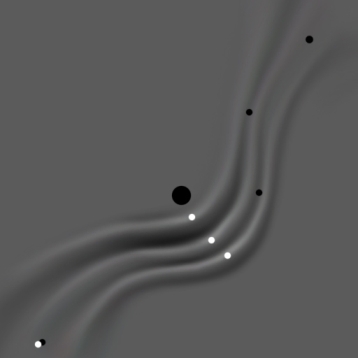 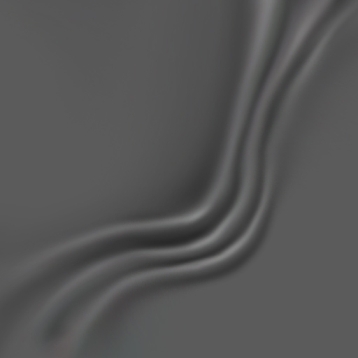 I kept adding shadows and lights. Also i created new layer and fill it with pink color, used layer mix (overlay) (it's in menu above your existing layers). Made an extra layer with ornament, set it to overlay too. After i merged all layers with shadows and lighting, i changed contrast to 100 in menu Image>Adjustment>Brightness Contrast... Here what i got: 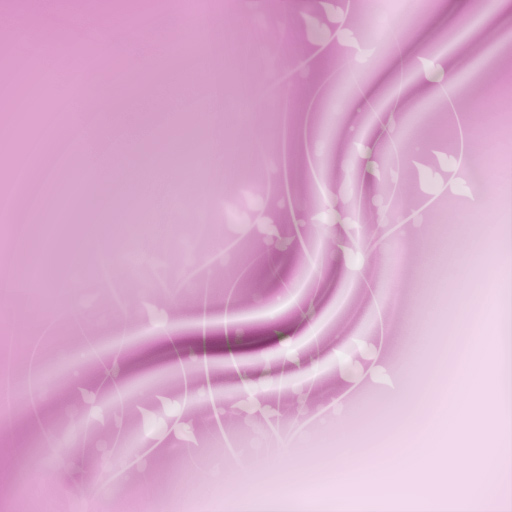 I don't recommend anybody to use fold and wrinkle brushes, but if you want to save your folds into a brush all you need to do is: Merge layers with shadowing and lighting, delete background layer, make sure there is nothing behid your fold, (no background, ornament ect.) go to Edit>Define Brush Preset and save your brush. Good luck to everyone! I hope this was helpful. Give me ideas for more tutorials =P
|
|
|
| Total comments: 0 | |